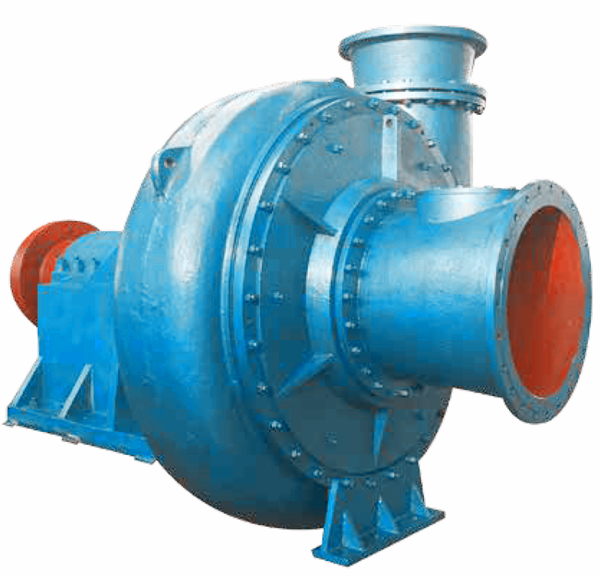
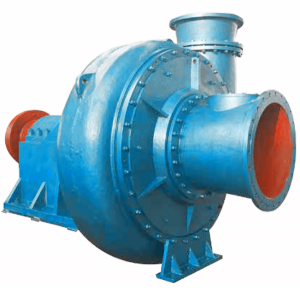
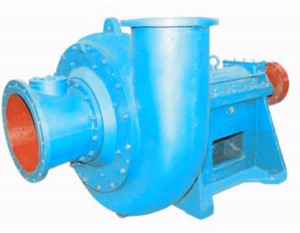
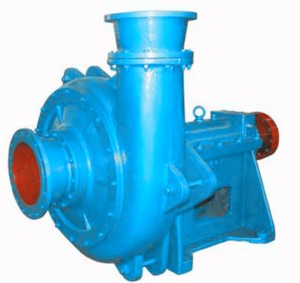
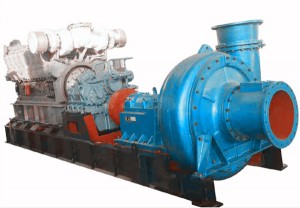
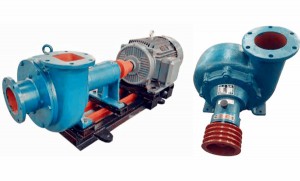
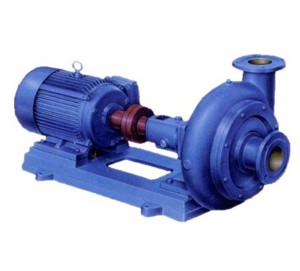
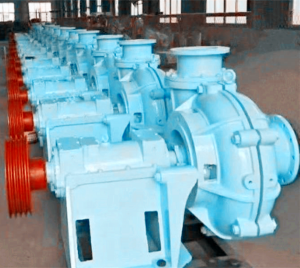
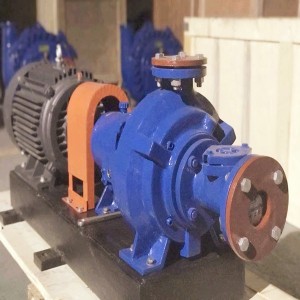
BNS and BNX Sediment Pumps (BNX is a special pump for sand suction and dredging)
Horizontal Sand Sewage Pump Description:
BNS and BNX high-efficiency sediment pumps are high-efficiency, energy-saving, single-stage single-suction, high-efficiency, single-stage, single-suction,Large flow centrifugal pump. This series of sediment pumps have unique innovations in water conservancy design and structural design. The flow parts adopt wear-resistant Corrosion-resistant high-chromium alloy material, with large flow, high lift, high efficiency, long life, low noise, reliable operation and maintenance Convenience and other features. The conveying slurry concentration can reach about 60%. Suitable for marine sand and mud suction, river dredging, land reclamation,Wharf construction, rivers and rivers to absorb sand, etc.; it can also be used to transport ore slurry in the electric power and metallurgical industries. The sediment pump is easy to use and has been installed in Shandong, Tianjin, Shanghai, Jiangsu, Zhejiang, Fujian, Guangdong, Hainan and Southeast Asia, Africa, Russia and other coastal cities along the river It is widely used and has been well received by users.
Horizontal Sand Sewage Pump Features:
The pump is composed of bracket body, pump shaft, pump casing, impeller, guard plate, stuffing box, expeller and other components. Among them, pump casing, impeller, guard plate, stuffing box, expeller can be selected from ductile materials according to user requirements. Cast iron or high chromium alloy. There are auxiliary vanes in the stuffing box.The impeller, together with the auxiliary blades of the rear cover of the impeller, form negative pressure during operation to prevent sediment from entering the shaft seal and reduce leakage. The auxiliary blades on the front cover of the impeller also form a certain negative pressure, which reduces the hydraulic loss. The pump bracket rotor (bearing) part is lubricated with thin oil (some models can add an oil pump and a lubricating oil cooler), which prolongs the life of the bearing and improves the reliability of the pump.
Assembly and Disassembly:
Before assembling the pump, check the parts for defects that affect the assembly and scrub them clean before installation.
1. The bolts and plugs can be tightened to the corresponding parts in advance.
2. O-rings, paper pads, etc. can be placed on the corresponding parts in advance.
3. The shaft sleeve, sealing ring, packing, packing rope, and packing gland can be installed in the stuffing box in sequence in advance.
4. Hot-assemble the bearing on the shaft and install it in the bearing chamber after natural cooling. Install the bearing gland, stop sleeve, round nut, water retaining plate, disassembly ring, rear pump casing (tail cover) to the bracket in turn (ensure that the installed shaft and the rear pump casing are coaxial ≤ 0.05mm), bolts Fasten and install stuffing seal box, etc., rear guard plate, impeller, pump body, front guard plate, while ensuring that the impeller rotates freely and the control 0.5-1mm gap between the front guard plate, and finally install the inlet short pipe, outlet short pipe, and pump Coupling (requires hot fitting), etc.
5. In the above assembly process, some small parts such as flat keys, O-rings, and skeleton oil seals are easy to be missed and vulnerable parts should be paid special attention to.
6. The disassembly sequence of the pump is basically reverse to the assembly process. Note: Before disassembling the impeller, it is necessary to destroy and remove the disassembly ring with a chisel to facilitate the disassembly of the impeller (the disassembly ring is a consumable part and is replaced with the impeller).
Installation and Operation:
1. Installation and start-up
Before starting, check the whole unit according to the following steps
(1) The pump should be placed on a firm foundation, and the anchor bolts should be locked. Fill SAE15W-40 lubricant to the center line of the oil window. If installing the oil pump and cooler, connect the cooler to the cooling water of the unit. During installation and debugging, the vibration between the pump and the motor (diesel engine) may be severe and needs to be re-adjusted (the radial runout of the coupling should not exceed 0.1mm, and the end face clearance of the coupling should be 4-6mm).
(2) The pipelines and valves should be supported separately, and the flanges should be tightly connected (when tightening the bolts, pay attention to the reliable position of the gasket and the inner lining between the flanges).
(3) Rotate the rotor part according to the direction of rotation indicated by the pump. The impeller rotates smoothly and there should be no friction.
(4) Check the steering of the motor (turning direction of the diesel engine and gearbox) to ensure that the pump rotates in the direction of the arrow marked, and then connect the coupling pin after confirming that it is correct. After confirming the direction of rotation, test run is allowed to avoid damage to pumps and other equipment.
(5) In direct drive, the pump shaft and the motor shaft are accurately aligned; when the synchronous belt is driven, the pump shaft and the motor shaft are parallel, and the position of the sheave is adjusted so that it is perpendicular to the sheave, and the tension of the synchronous belt is adjusted to prevent vibration or loss.
(6) At the suction port of the pump, a detachable short pipe should be equipped, the length of which should meet the maintenance and replacement space of the pump body and impeller.
(7) Check the packing and other shaft seal parts on time. The packing seal should open the shaft seal water and check the water volume and pressure of the shaft seal before starting the pump set, adjust the packing gland fastening bolts, adjust the packing tightness, and adjust the packing tightness. The leakage rate is preferably 30 drops per minute. If the packing is too tight, it is easy to generate heat and increase power consumption; if the packing is too loose, the leakage will be large. The shaft seal water pressure is generally higher than the pump outlet
The pressure is 2ba (0.2kgf/cm2), and the shaft seal water volume is recommended to be 10-20L/min.
2. Operation
(1) The packing and shaft seal water pressure and flow rate should be regularly checked and replaced during operation to ensure that a small amount of clean water always passes through the shaft seal packing.
(2) Regularly check the operation of the bearing assembly. If it is found that the bearing is running hot, it should be checked and repaired in time to ensure the normal operation of the pump set. If the bearing heats up severely or the temperature continues to rise, the bearing assembly must be disassembled to find the cause. Generally, bearing heating is caused by excessive grease or impurities in the oil. The amount of bearing grease should be appropriate, clean, and added regularly.
(3) The pump performance decreases as the gap between the impeller and the guard plate increases, and the efficiency decreases. The impeller gap should be adjusted in time to ensure that the pump can operate at high efficiency. When the impeller and other parts are seriously worn and the performance is not up to the system needs, check and replace them in time.
3. Stop the pump
Before stopping the pump, the pump should be pumped for a period of time as much as possible to clean the slurry in the pipeline and prevent the pipeline from being blocked after precipitation. Then turn off the pump, valve, cooling water (shaft seal water), etc. in turn.
Pump Structure:
1: Feeding Short Section 2:Feeding Bush 3: Front Pump Cover 4: Throat Bush 5: Impeller 6: Pump Casing 7: Discharge Short Section 8: Frame Plate Liner Insert
9: Rear Pump Casing 10: Seal Assembly 11: Shaft Sleeve 12:Impeller Removal Ring 13: Water retaining Plate 14: Rotor Assembly 15: Frame 16: Bearing Gland 17: Coupling
BNX Pump Performance Table:
Note: Where Z refers to the direction of rotation of the impeller is left-handed
The impeller flow channel of the BNX special sand suction pump is enlarged and has good passability. It is more suitable for sand suction and mud suction, and cleaning of river silt and garbage. The flow parts of the pump are made of high chromium alloy, which is more wear-resistant and durable.

